Pumpkin Carving Tips- Master the Art of Halloween Decor
Carving pumpkins is a fun thing to do at Halloween. It’s like making a cool decoration for your house. You can make amazing pumpkin faces even if you’ve never done it.
This guide will teach you how to carve pumpkins like a pro. We’ll tell you the best ways to pick a pumpkin, make your design, and keep your pumpkin looking good for a long time.
Choosing the Right Pumpkin
The first step to making a cool pumpkin is to choose the right one! Look for a pumpkin that feels hard and doesn’t have any soft spots. It should be a bright orange color all over. This means it’s ready to be carved and will last longer.
The size and shape of your pumpkin matter too! A big pumpkin gives you lots of space to draw a cool picture. A small one is good for simple drawings or making lots of little pumpkins. Think about what you want to carve and pick a pumpkin that fits your idea. For example, a tall pumpkin is good for a face, and a round one is good for fancy patterns.
Also, make sure the bottom of the pumpkin is flat so it won’t fall over. Look for a pumpkin with a strong stem. This means it’s fresh and will last longer.
Choose the right pumpkin to make a cool carved pumpkin!
Preparing Your Pumpkin
Now that you have a great pumpkin, it’s time to clean it! Wash it with soap and water to keep it from getting moldy. Dry it with a towel.
Next, decide where to cut a hole. Most people cut around the top, but you can cut the bottom too. If you cut the top, make sure the hole is slanted so the lid doesn’t fall in. If you cut the bottom, the pumpkin will sit flat.
Take the lid off the pumpkin and put it aside. Use a big spoon to take out all the seeds and gooey stuff inside. Make sure to clean the sides well so the pumpkin walls are about an inch thick. This makes it easier to carve and helps the pumpkin last longer.
You can save the seeds to eat later! They’re yummy!
After cleaning out the pumpkin, wash it again and dry it. Now you’re ready to draw your scary picture and carve it out!
Design Planning
Design Planning
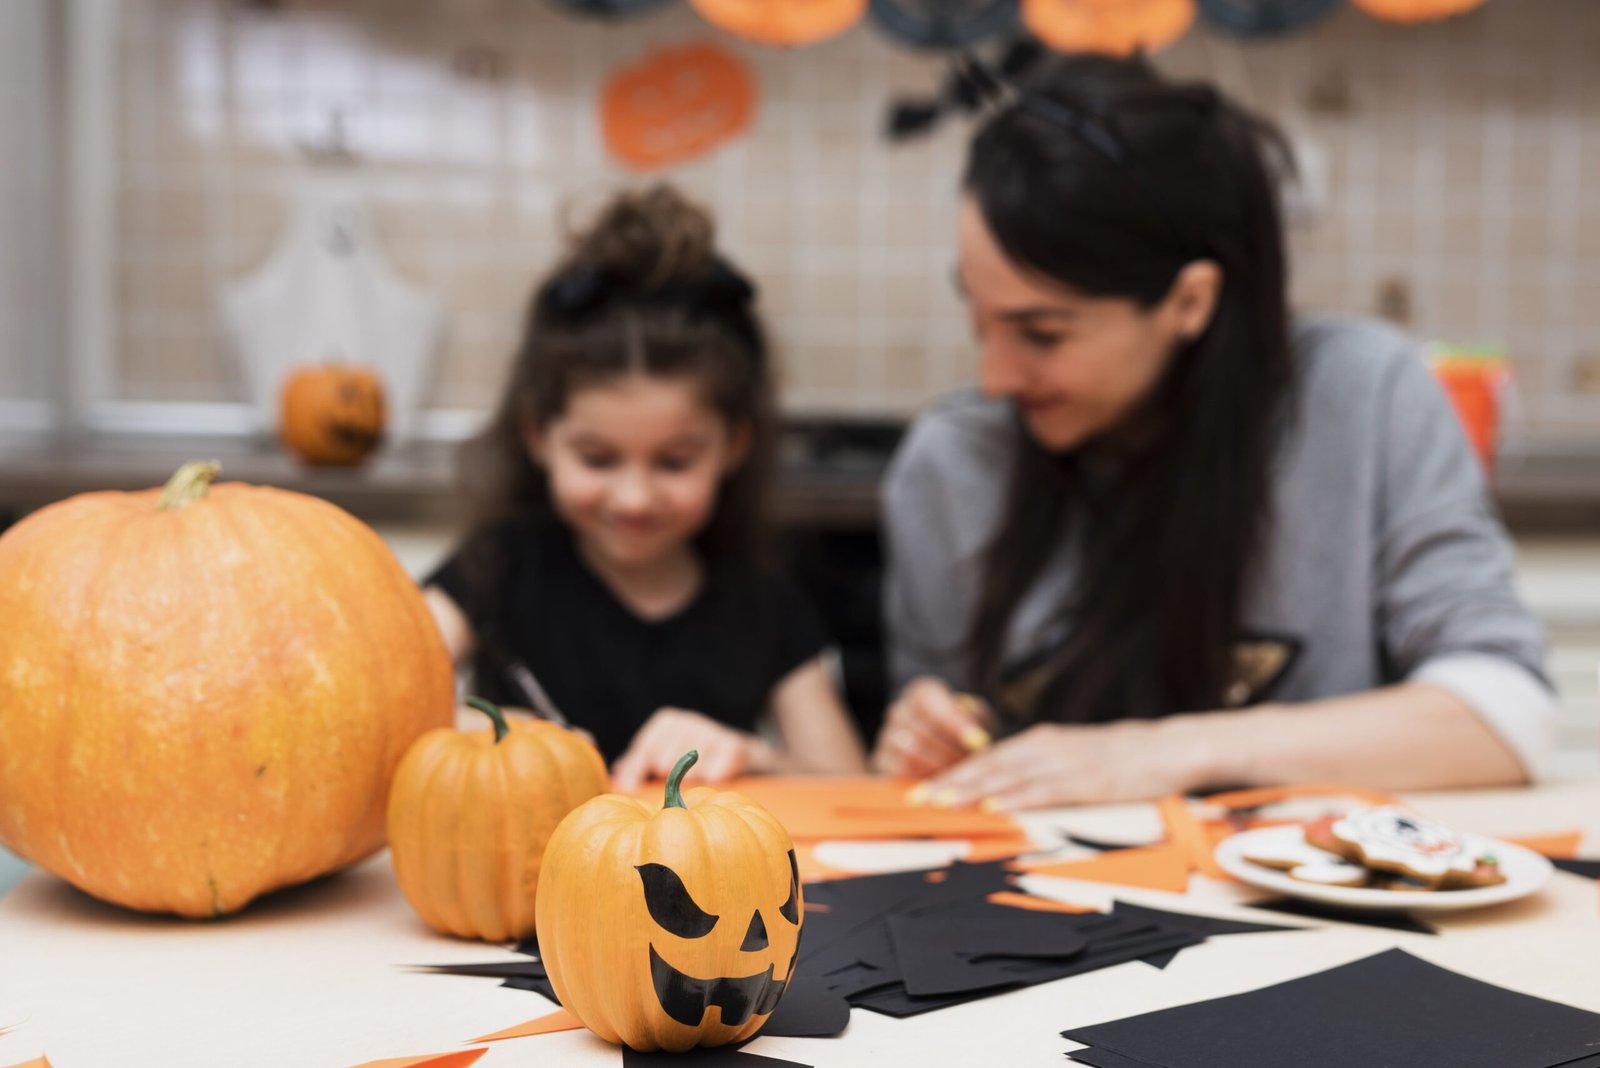
Before you start carving, think about what you want to make on your pumpkin. Do you want a scary face or something funny? Look at pictures of carved pumpkins or draw your ideas.
Once you know what you want, draw it on a piece of paper. This will help you figure out where everything goes on the pumpkin. If you can’t draw, you can find pictures online to copy.
If you’re just starting, try drawing simple shapes on your pumpkin. When you get better, you can try harder designs. Make sure your drawing fits on the pumpkin and looks good in its round shape.
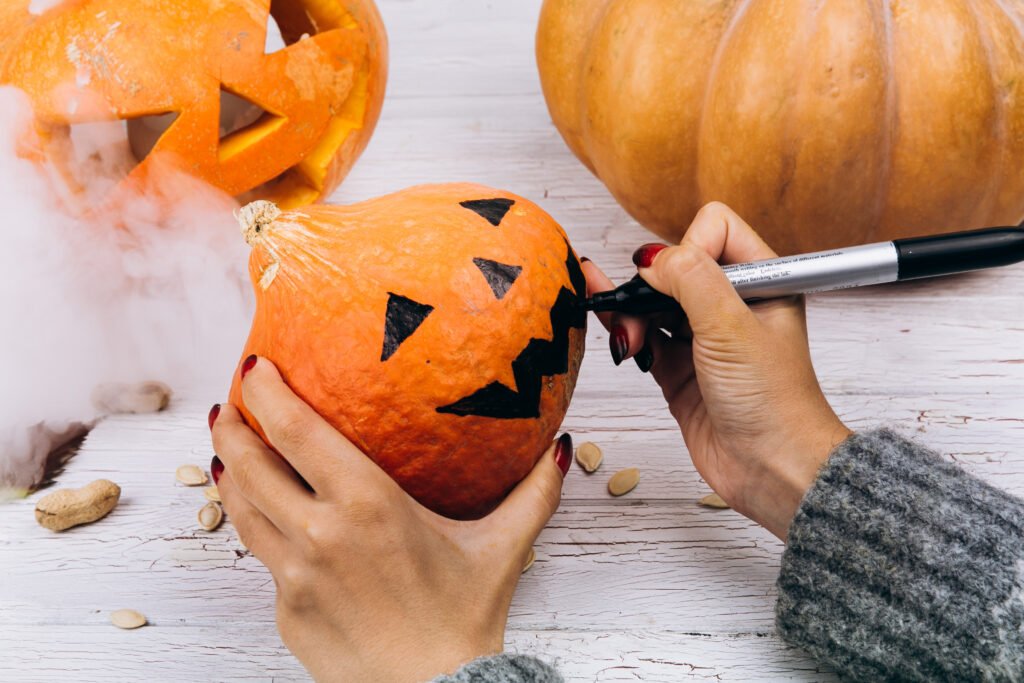
Use a special pen or pencil to draw your picture on the pumpkin. Draw lightly so you can fix mistakes. If you have a piece of paper with the picture on it, tape it to the pumpkin and make tiny holes around the lines. This will help you draw the picture.
Planning your picture will make carving easier and more fun. You’ll be able to make a cool pumpkin!
Safety Tips
Carving pumpkins is fun, but it can be dangerous if you’re not careful. Here are some tips to keep you safe:
- Use the right tools: Get a special pumpkin carving kit. It has tools that are safe to use. Don’t use kitchen knives.
- Find a steady place: Put your pumpkin in a flat, not-slippery place.
- Be careful where you cut: Cut the pumpkin away from you, not towards you. Keep your hands out of the way.
- Keep your tools sharp: Sharp tools are safer than dull ones. Make sure your tools are sharp.
- Watch the kids: If kids are helping, watch them closely. Let them scoop out the seeds, but you should do the carving.
- Take breaks: Carving can tire your hands. Stop and rest them often.
- Good light: Make sure the room is bright so you can see what you’re doing.
- Be careful with candles: If you use a candle, put it in a glass jar. Never leave it alone. It’s better to use battery lights.
- Put away your tools: When you’re done, put your sharp tools away where kids can’t reach them. Wash them and dry them.
- Have a first aid kit: Keep a box with bandages and stuff to help if you get a little cut.
Remember, it’s important to be safe when you’re carving pumpkins. Have fun, but don’t get hurt!
Maintenance and Preservation
You made a cool pumpkin! Now, let’s keep it from getting old and yucky.
- Clean it up: Wash the inside of your pumpkin again to get rid of any messy stuff. Let it dry completely.
- Protect it: Put some Vaseline or oil on the parts you carved. This will help it stay fresh.
- Kill the germs: Mix water and a little bleach. Spray it inside and outside your pumpkin. Let it dry. This will help it last longer.
- Keep it cool: Put your pumpkin in a shady spot. Don’t leave it in the hot sun.
- Give it a drink: If your pumpkin starts to look shriveled, put it in cold water for a bit. Then dry it off.
- Buy special stuff: There are sprays you can buy to help your pumpkin last longer.
- Check on it: Look at your pumpkin every day. If it looks sick, clean it and put more Vaseline or spray on it.
- Keep animals away: Sometimes squirrels or other animals like pumpkins. Put spicy powder or a special spray around it to keep them away.
- Don’t touch it too much: If you touch your pumpkin a lot, it will get old faster.
Take good care of your pumpkin, and it will look great for Halloween!
In Conclusion
Making a scary or funny pumpkin face is a fun thing to do at Halloween! Picking the right pumpkin, cleaning it out, and drawing a cool picture on it are all part of the fun. Be careful when you carve and make sure to keep your pumpkin clean and safe.
If you take good care of your pumpkin, it will look great for a long time. So have fun and get creative with your pumpkin!
FAQs
Q: What is the best type of pumpkin for carving?
A: Look for a firm pumpkin, that has a consistent orange color, and no soft spots or blemishes. Larger pumpkins provide more surface area for intricate designs, while smaller pumpkins are great for simpler patterns.
Q: How do I clean the inside of a pumpkin for carving?
A: Cut a lid around the stem or the bottom, then use a large spoon or scoop to remove all the seeds and pulp. Scrape the walls of the pumpkin until they are about an inch thick to make carving easier.
Q: What tools do I need for pumpkin carving?
A: Essential tools include a sharp knife, a scoop for removing seeds and pulp, and various carving tools for detailed work. A pumpkin carving kit, which includes specialized tools, is also a good investment.
Q: How can I transfer a design onto my pumpkin?
A: Sketch your design on paper or use a printable template. You can then trace it onto the pumpkin using a washable marker or a poking tool to create small, evenly spaced-holes along the lines of the design.
Q: How can I make my carved pumpkin last longer?
A: Apply petroleum jelly or vegetable oil to the cut edges to lock in moisture. Keep the pumpkin cool and out of direct sunlight. You can also spray the inside and outside with a bleach solution to inhibit mold growth.